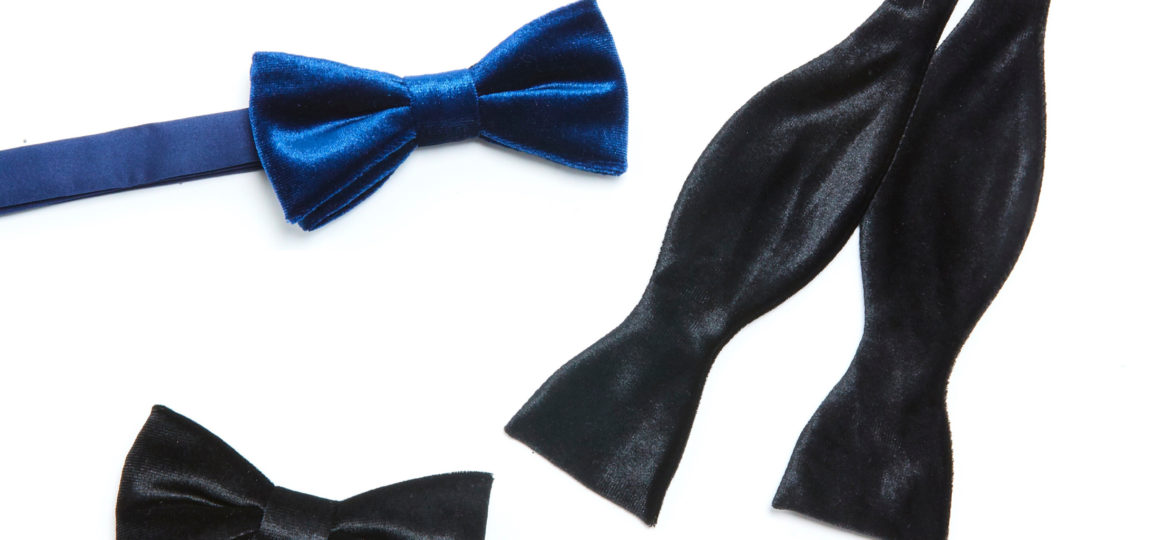
Bowties are a timeless accessory. From Winston Churchill to James Bond, the bowtie has become a style icon all on its own. Bowties are not only a must for formal occasions but can be used to show off one’s personality on everyday occasions.
The simple bowtie was originally a descendant of the knotted cravat. The first forms of the bowtie we know today were initially worn by Croatian mercenaries during the 17th century, when men needed a way to hold the openings of their shirts together. By the end of the 19th century, bowties made their way to French aristocrats who feel in love with the stylish accessory.
The popularity of the bowtie eventually made its way across Europe and evolved into a sign of wealth and luxury. Previously reserved exclusively for the most formal of occasions today, bowties have made their way into modern fashion.
At Jaxson Maximus, we know that it is not easy to master the art of how to tie a bowtie properly. Our custom clothing style experts are here to show you just how easy it is to conquer the bowtie.
Start with the bowtie wrapped around the collar of your shirt. You want to make sure that one end is longer than the other. Think of it like a pair of shoelaces.
Place the longer side of the bowtie over the shorter side.
Place Use the longer side of the bowtie to make a knot. Tie the bowtie back tight so that it wraps around the collar of the shirt.
Place the longer end of the bowtie to the side. Use the shorter end and fold it in half to create the initial shape of the bowtie.
*Make sure that there is an open loop on the end of the shorter side of the bowtie after you create the shape.
Take the long side of the bowtie and drape it over the middle of the shorter side. Like you would be creating a knot.
*Tip: To hold the shape of the bowtie in place, you can pinch the two sides of the shorter end of the bowtie or the end that is creating the initial shape.
By the shirt’s collar, there should be a small hole behind the shorter side of the bowtie. Take the smallest side of the longer piece of the bowtie and push it through the hole in the back.
*Try not to push it too far through as all of the fabric will come out.